Welcome, weary traveller from the orange site! Let me tell you the tale of roons — a kit for building mechanical computers.
I got inspired a couple of years ago when I binged a bunch of mechanical logic gate YouTube videos. There are some unbelievably clever implementations — Steve Mould’s water computer was a particular inspiration.
Still, these mechanical logic gates usually end up too big to make any practical devices. I figured, how hard can it be to miniaturise them into a usable kit?
loom automaton
The Analytical Engine weaves algebraic patterns just as the Jacquard loom weaves flowers and leaves.
Ada Lovelace
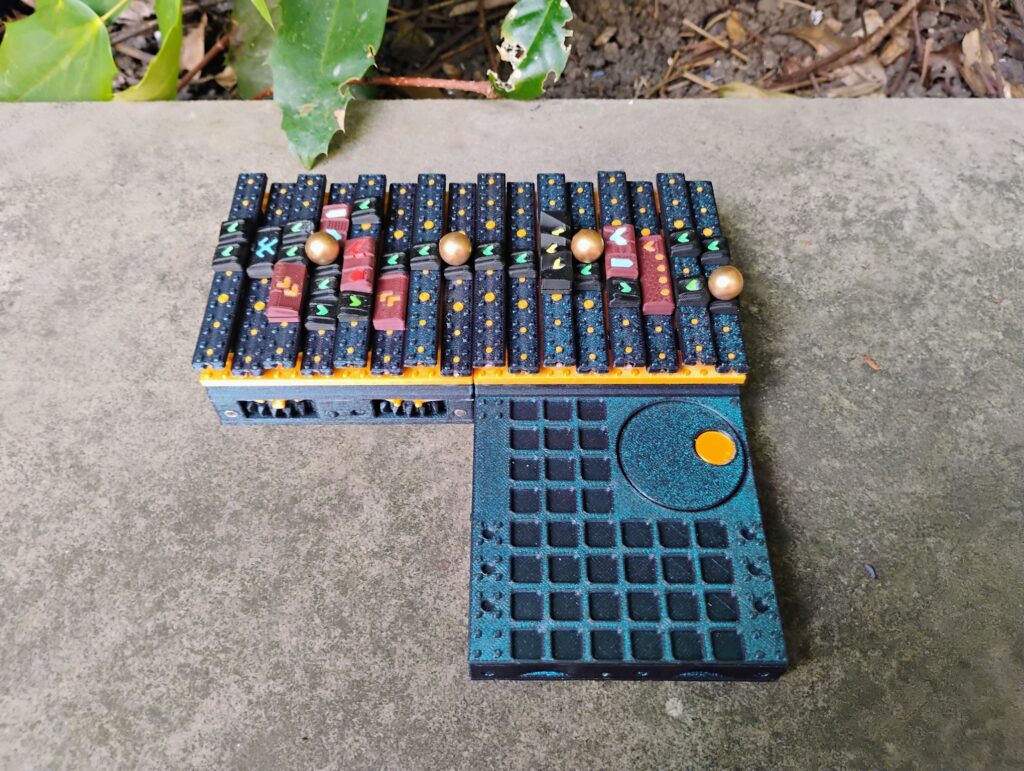
After noodling around with far too many prototypes, I settled on what I call a loom automaton. We place tiles (“roons”) on a loom of alternating bars that move up and down. The contours on these tiles guide marbles  and holes
  in discretised steps, representing bitstreams.
Isn’t it incredibly neat that a literal physical loom turns out to be a great substrate for Lovelace’s metaphorical loom?
Anyway — you can think of this loom as a cellular automaton, where each cell is:
- Occupied or empty
- Raised or lowered
- Controlled by one of a finite set of roons
If you know of prior work on this kind of system, please get in touch! I don’t claim the loom automaton is original; I just haven’t seen it elsewhere.
why loom good
Initially, I was making ad-hoc devices for each computer component — a gadget for number comparison, which worked like this; and a gadget for addition, which worked like that; etc.
The loom was a turning point. Instead of a loose collection of dissimilar gadgets that plug in together, everything is implemented on the loom. (Except peripherals, which we’ll get to later.) This gives us a common interface for stitching together whatever devices we need — memory, instruction sets, whatever. It makes it trivial to deliver power in synchronised discrete steps to every component.
I tried several variations on the loom: moving the marbles using alternating pins; continuously guiding the marbles using slides rippling in a wave; replacing gravity with magnetic potentials; etc. You can read more about these failed attempts in the hardware/prototypes deep dive.
Turing completeness
You can skip this section if it’s obvious that discretised marble movements are Turing complete, but then you’d miss out on the beautiful interactive simulator:
I learned JavaScript for this.
When the xor  roon above receives its inputs, a single ( or ) can fall into the central channel, while will block each other. So an xor implements XOR.
Other roons implement other logic gates. The canute  performs a check then kicks an back one step, which lets us implement carry-like functions on a marble bitstream. There are also roons like the trap
  that can permanently store a piece of state.
Though actually, you don’t need any stateful roons to store state — you can just cycle a stream of round in a loop, bam, you’ve got a register:
We read from this register using a switch  to divert the path of an infinite stream of . Meanwhile, the register is constantly reading in from one of two data sources: itself, or an input stream, depending on a 3rd signal channel. While this channel is , the data loops; when it’s , it gets overwritten by the external input, letting us perform a write.
But I’m getting off track. Trivially, XOR gates are Turing complete; my job is done, that’s a computer, we can all go home. Thank you.
convenience
“But wait! Being Turing complete isn’t enough to not suck!”
That’s a good point. To actually make a good mechanical computer kit, we need a few other things:
- Compactness — build interesting devices in a small area, with very few pieces — no warehouse-sized processors!
- Promptness — reasonable processing rate; don’t have to wait for
BB 10steps before a computation finishes - Fast editing — minimal friction to changing a pattern and running it. “Hot reloading” so a pattern can be edited while running.
- Saving and loading — can save your work to compact storage, then bring it back later
- Minimal — build many complex systems from a small number of core parts
Basically I wanted a kit that’s actually practical and fun for building circuits.
did you make one?
… yes!
Here’s a binary adder made of a long turn  , canute , and distributor
  — which together are not much bigger than a postage stamp. (Wave your hands and amortise away the space occupied by the disk drive itself, I/O plumbing etc etc)
Because space is at such a premium, instead of staggering multiple XORs and ANDs, we just bundle it all into a single unit — it’s small but slow.
We can also do memory, latches, processors, counters, timers, counters etc. Follow the tutorial sequence to learn more.
modularity
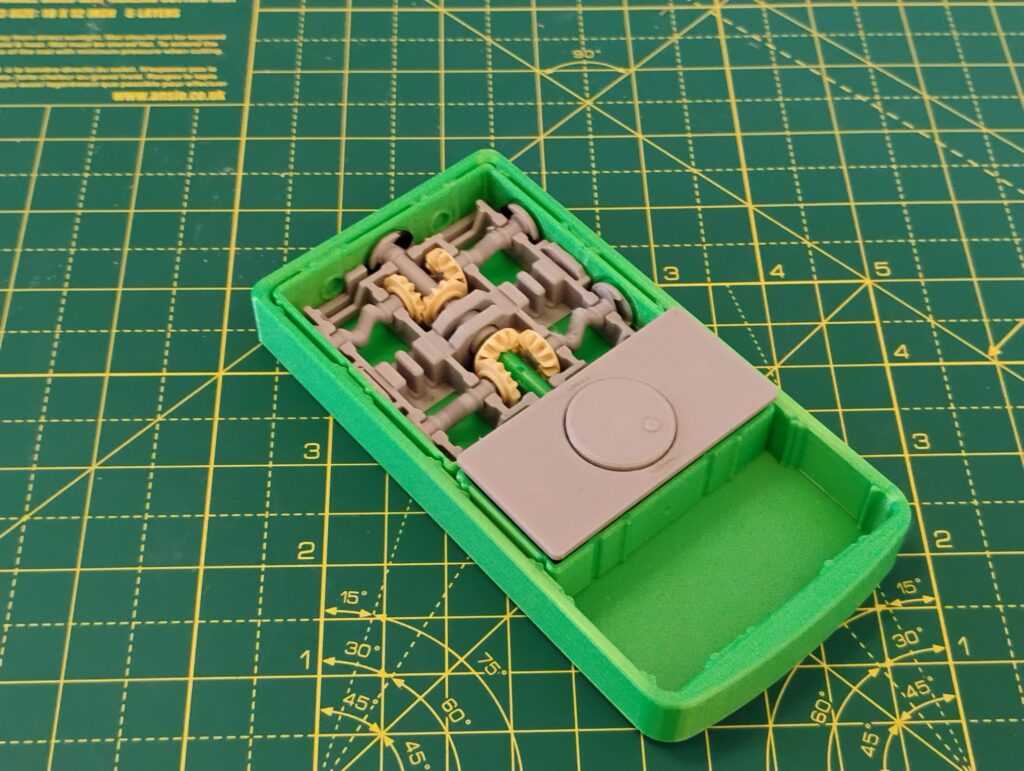
I wanted it to be easy to store and run lots of different patterns. Each disk drive is reasonably pocket-sized, but there’s still a lot of space dedicated to the internal gear mechanism.
So here’s the removable disk system:

This is pretty simple, but it took a long time to get right! Challenges included:
- Figuring out exactly how much of the mechanism I could shunt down into the disk drive, and how much I had to retain in the disk
- Optimising magnet strengths and positions — need the save/load to work smoothly, while preventing the base from popping back up in operation
We can also move individual bars between disks, or rearrange the order within a disk. This makes it easy to adjust a pattern if we started it in the wrong place.
extendability
If we need a bigger workspace, we just put drives next to each other. This works along both X and Y axes, so you can build 2D grids.
binding
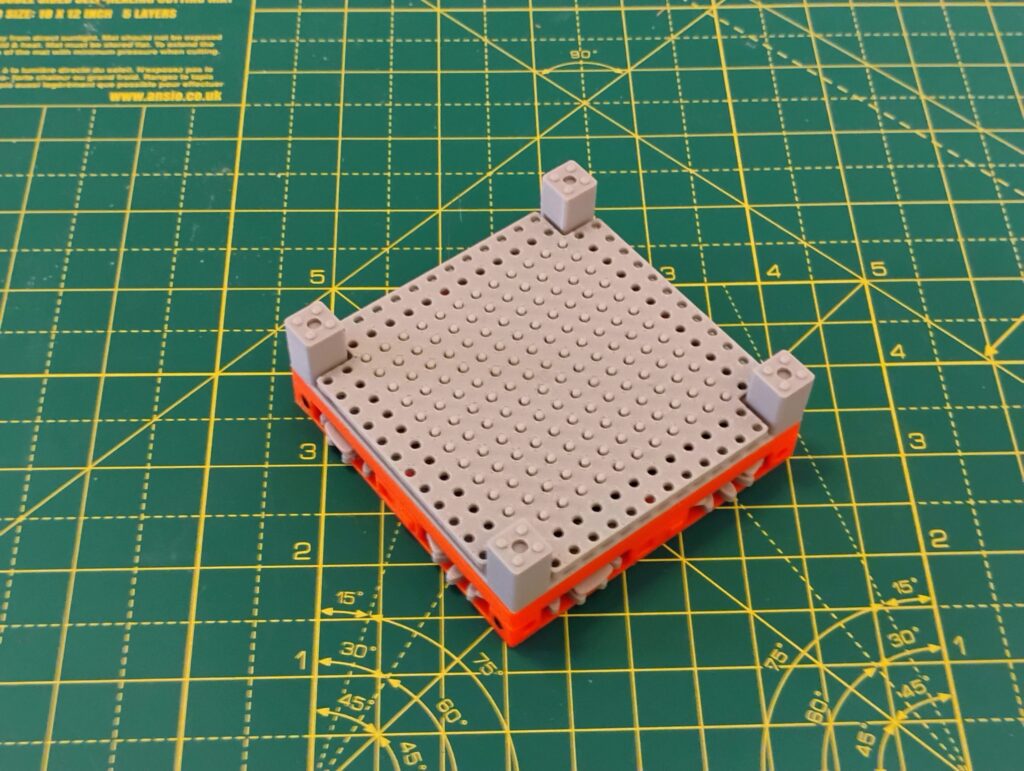
Each face of the drive has a pair of north-south magnets at its ends. This lets it pair up with a 180-degree-rotated copy of itself.
The centre of each face also has a small raised nub next to a corresponding pocket. This locks the drive into a precise position.
power
We also need to transfer power through the system. Originally I used horizontal axles with hidden magnetic couplers, which looked very cool but had too many design issues.
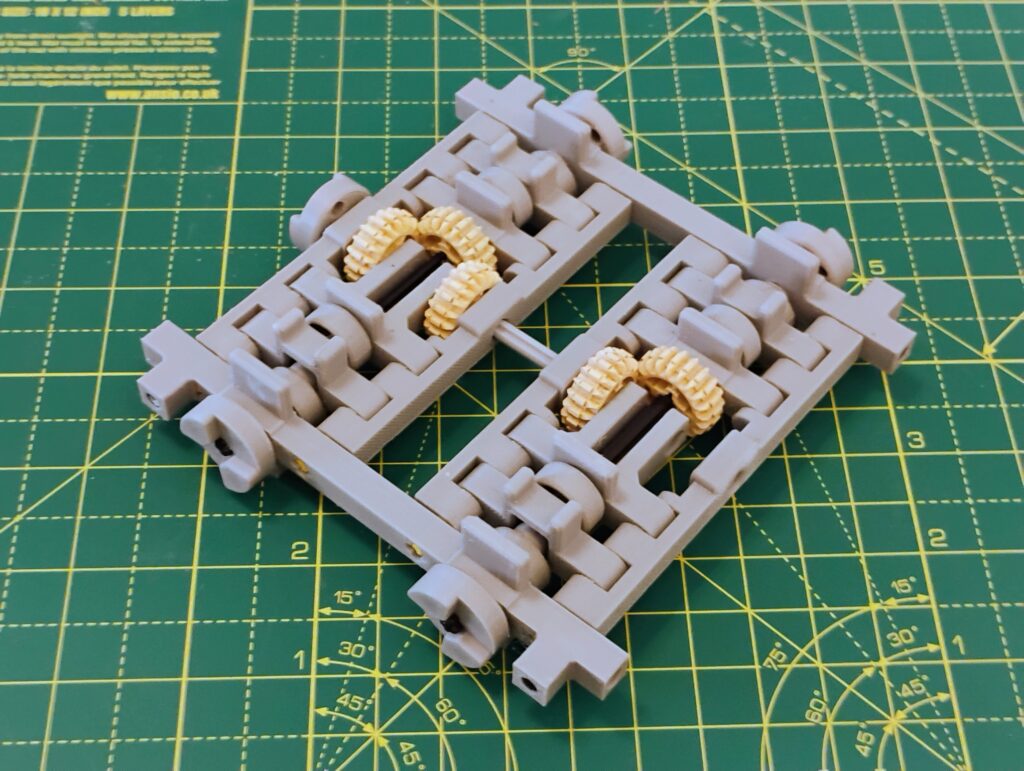
Instead, each drive has a 2 x 2 gear grid, where each gear has an integrated barrel cam to move the bars up and down. When two drives are placed next to each other, the gears bind together.
Because N is even in our N x N gear grid, the drives all spin the same way. This matters because certain peripherals expect a particular direction of rotation.
phase
We want all the bars to move in phase. Connecting the drives up correctly is fiddly — it’s easy to accidentally offset the connection by a tooth or two.
To prevent this, the gears have a layer of phase baffles (I don’t know the technical term). These physically block the gears from connecting until they’re perfectly synced up.

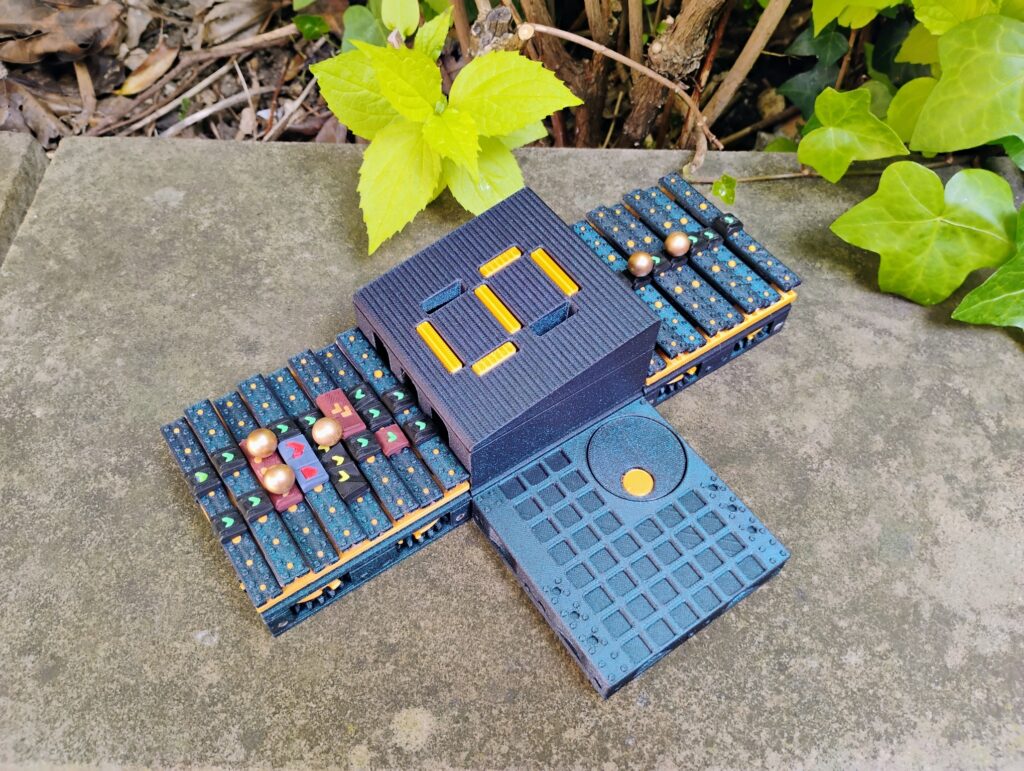
Combining all these principles together gives us a lot of freedom in how we set up our workspace:
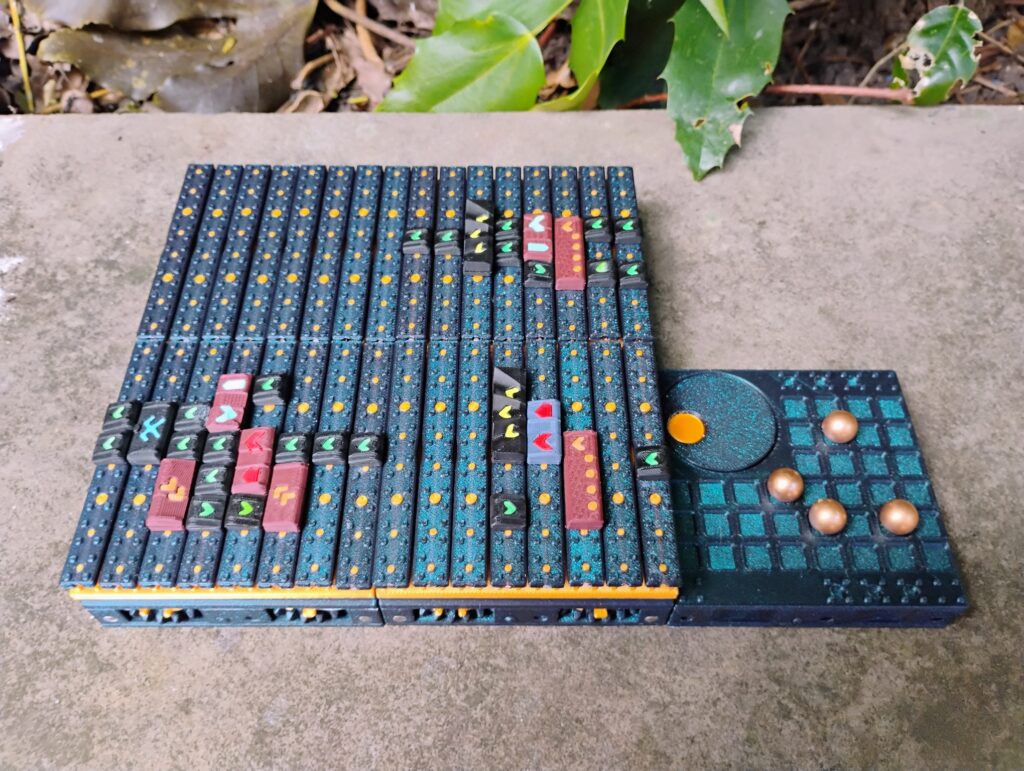
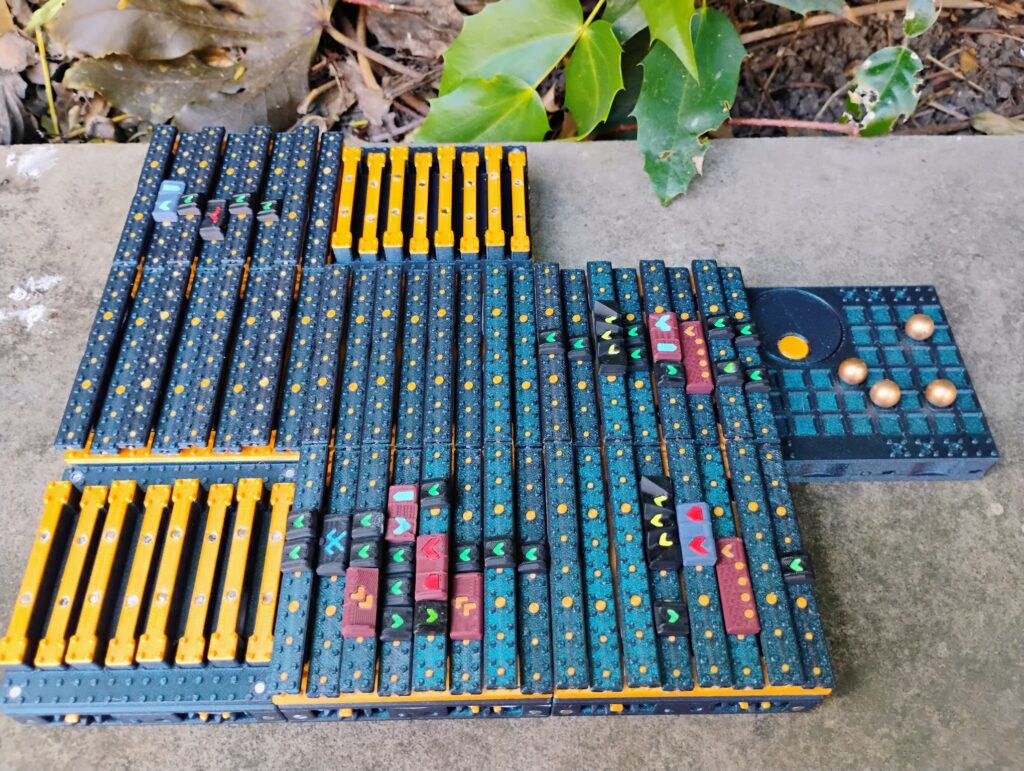
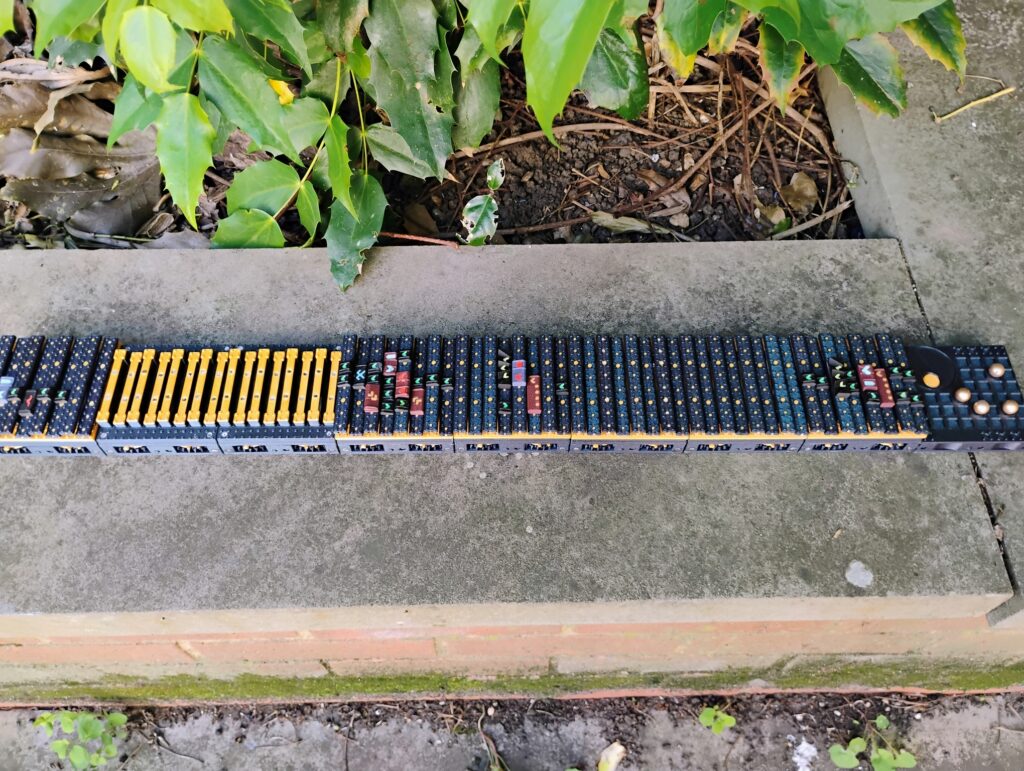
How practical are these big grids, though? More details in the hardware deep dive.
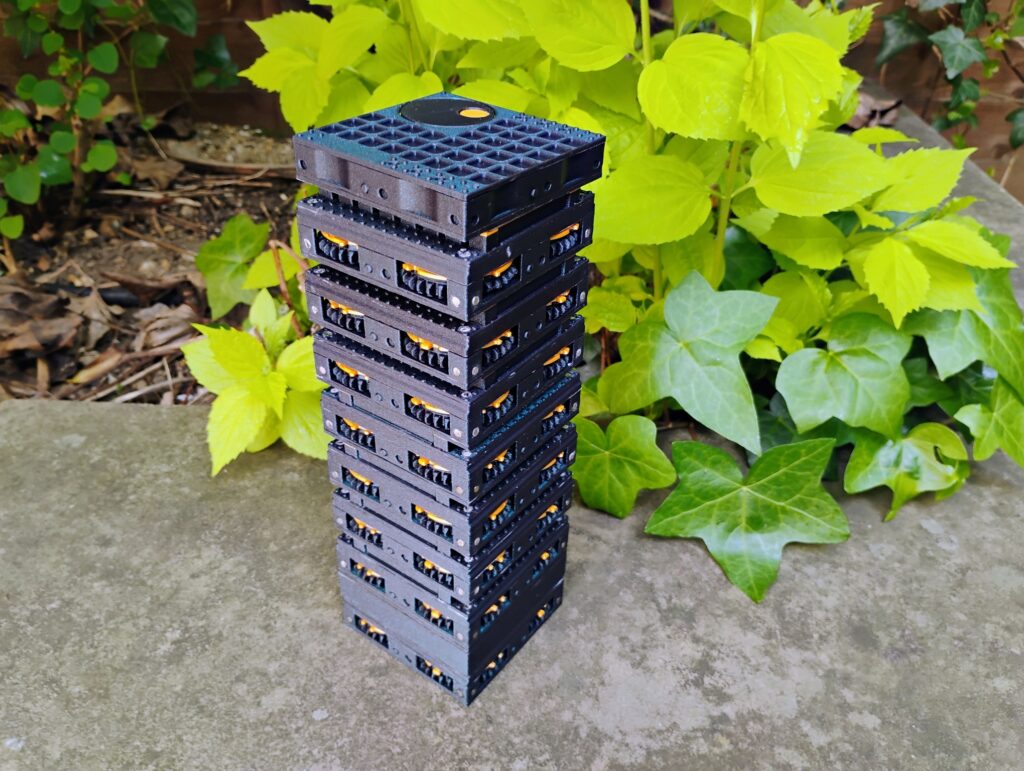
storage
I wanted to make roons easy to store. I already had the stud system for binding tiles to bars, so I just extended that. The bases of the drives accept studs, so you can stack them up.
I also looked for convenient places to store the smaller pieces. For example, the encabulator has a hollow core for marbles, roons can be stored upside-down in the travel lid.

peripherals?
What an odd question, but — yes! Yes, roons has peripherals. These use the same 2×2 gear interface as the disk drives, so they plug into the grid and sync up.
There are two boring feature-complete peripherals:
- The encabulator lets the user supply rotation to the system, powering each device.
- The bucket is a bucket. can fall into it. This one was particularly challenging and took billions of research hours.
The WIP peripherals are where things get spicy:
- The 7-segment display (WIP) intakes 4-bit numbers on a cycle, converting them into the corresponding base ten digit (plus 6 special characters)
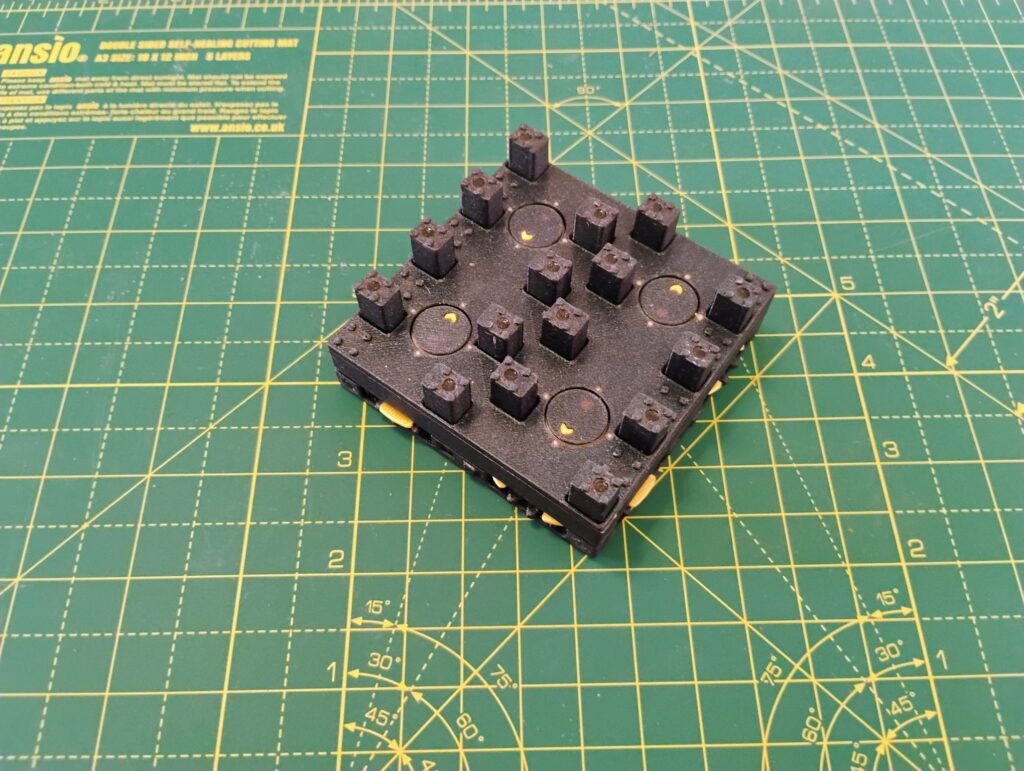
- The numpad (WIP) converts keypresses of the digits 0-9 into 4-bit marble bitstreams.
- The alphanumeric display (WIP) is a 6-bit extension of the 7-segment display, capable of displaying all letters of the alphabet, digits, and your favourite punctuation marks.
- The hard drive (WIP) is space efficient marble data storage that can be used as input/output for other patterns.
- The turbo encabulator (NES, Not Even Started) is a motorised encabulator for powering larger grids.
Expect some big updates soon — these peripherals are what makes roons look like actual magic. For example, plugging a display into an adder:
Or chaining multiple displays together to get scrolling text (the bitstream passes through):
But I am just one person, and physically implementing these designs takes me a long time. So no mechanical text displays for you — yet.
materials and manufacturing
Most components are prototyped in 3D-printed PLA. Plans are to switch to injection-moulded ABS for mass production, though I’ve got a couple of more complex plans up my sleeve depending on demand.
I print these using three Bambu Labs A1 Minis. These are really really good, by the way.
Many of these pieces would be better prototyped in something like resin, but FDM turned out to be good enough; it’s what I was familiar with and had access to.
magnets
Each roon needs to cling to the bars of the loom. Consequently, I have manually superglued approximately 6,000 tiny neodymium magnets, and no longer have fingerprints.
bars
The bars of the disk need to be magnetic (or at least magnetically receptive). But inserting individual magnets would be too expensive and tedious.
Therefore, I manually trim down Copper-Coated Mild Steel (CCMS) brazing rods with a pair of bolt cutters, then embed them in the bars. You wouldn’t believe how many failed approaches it took to find this solution — could be an entire post in itself.
website
I took a calculated risk in setting up the whomtech website, and used two unproven technologies:
- WordPress is a little-known website builder. We hope that the endorsement of an industry titan like whomtech can give this underused piece of tech some exposure.
- JavaScript is a fresh, new approach to minimising your serotonin. It combines the elegance of Java with the type safety of punching yourself in the throat.
You can read more JS slander in the software deep dive.
disappointments
So is roons an unmitigated success?
No! Don’t worry, there are many mitigations:
- Peripherals behind schedule –The really cool peripheral prototypes are nowhere near production ready. The challenge is to integrate them with the marble bitstream concept, while minimising the number of parts and maximising reliability. I’d hoped to have this done by now — it’s absolutely possible, but I am slow.
- Piece reliability — Newer roons like the crossing
 haven’t hit the level of reliability I want. “Mostly working” isn’t good enough — we need 99.9%+ reliability to build anything interesting. This isn’t a threat to the underlying Turing completeness, but it does reduce the kit’s convenience.
 - Piece interoperability — This is the real curse. Getting each roon to interoperate reliability with every other roon is exponentially (quadratically?) difficult. I’m happy with the basic interactions, but there are esoteric cases where an interaction “should” work but doesn’t.
- Ease of use — roons can be small and fiddly. I’m used to them by now, but there’s still work to be done to make it easier for newcomers.
- Simulator — I design the tutorials using a janky simulator tool I built. I wanted to polish it up before general release, but here we are.
- Site and tutorials — There’s still tons of tutorial content to write, and parts of the site that need attention.
- Additional roons — There are many, many specific roons that I haven’t had time to develop yet: e.g. enhanced lateral movement, more state, general conveniences, 3D movement, etc
more technical stuff
A ton of research and experimentation went into this project over the last couple of years. Some of it’s pretty interesting! You can read the mind-numbing details here:
other
- Check out the interactive tutorials
- Have a play with the simulator (very janky alpha version!)
- Feedback gratefully received at
support@whomtech.tech, or any of the other Potemkin email aliases that all go to my inbox
can I get a roons kit?
Maybe!
I have a Kickstarter campaign launching on May 21st. I’m also sending out a limited number of review kits.