If you have multiple drives, you can combine them to make a bigger workspace. Just connect them up like you did with the encabulator:
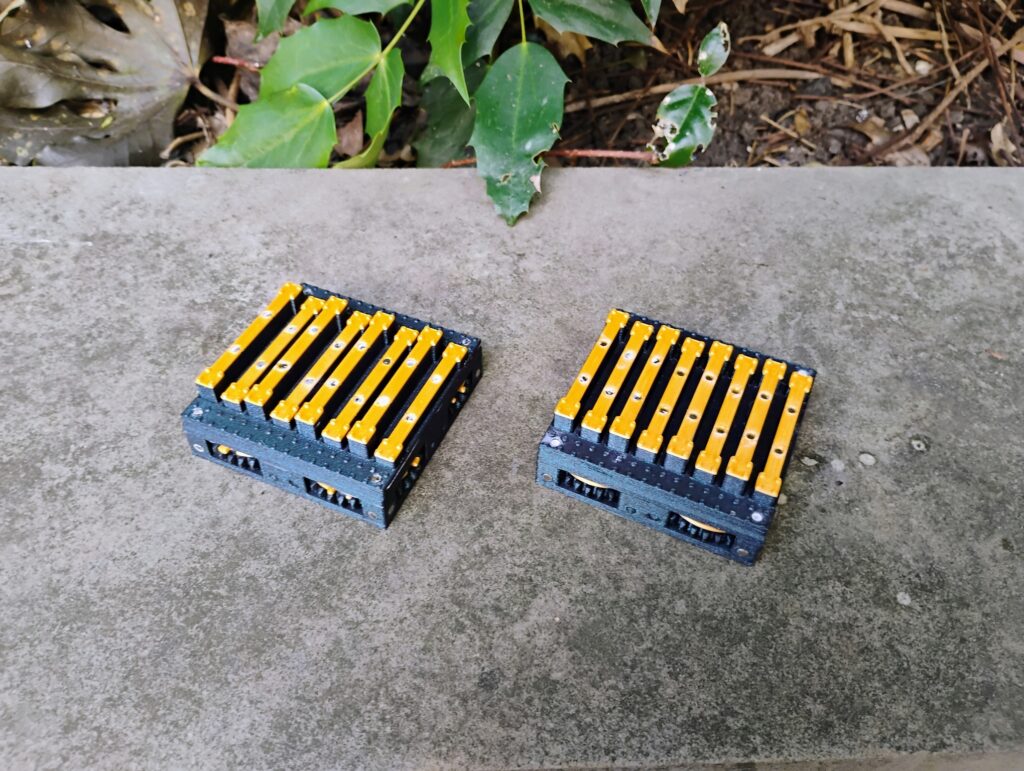
We need to make sure the drives have the same phase. This means that they go up and down at the same time.
To synchronise the phases, pay attention to the golden phase baffles:

These need to connect up like puzzle pieces — where there’s a tooth, we need a slot.
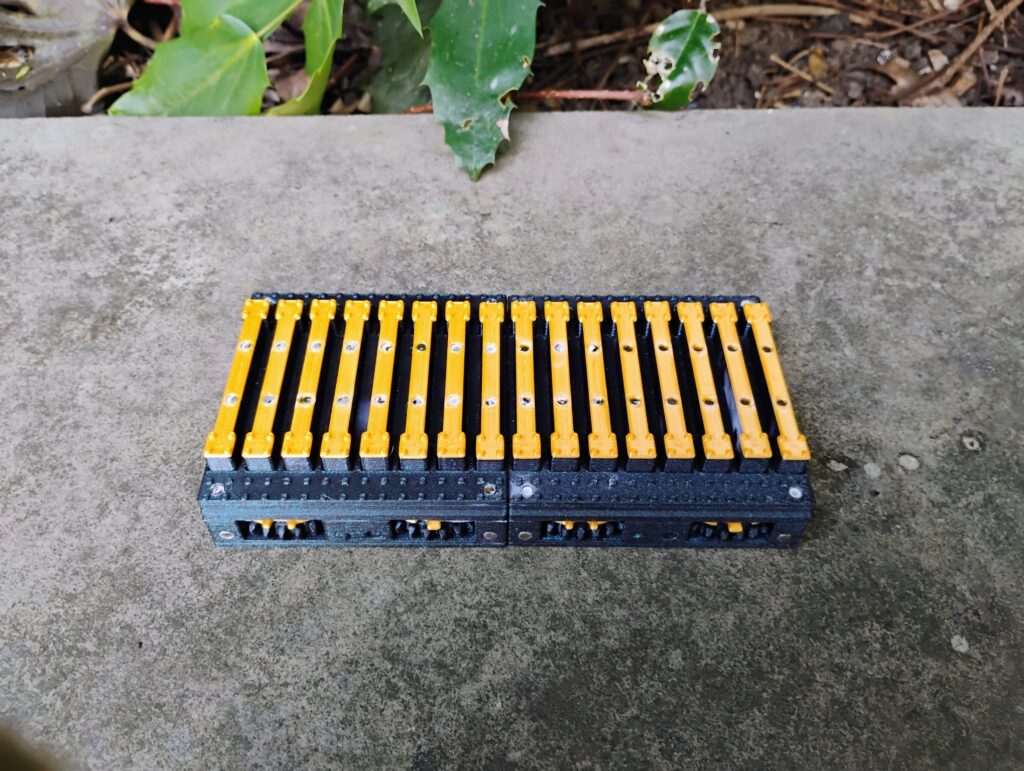
It’s possible to connect the drives 180 degrees out of phase. This means that when a bar should go up, it’ll go down instead. The easiest way to fix this is just to disconnect one drive, spin it 180 degrees, and connect it back up.
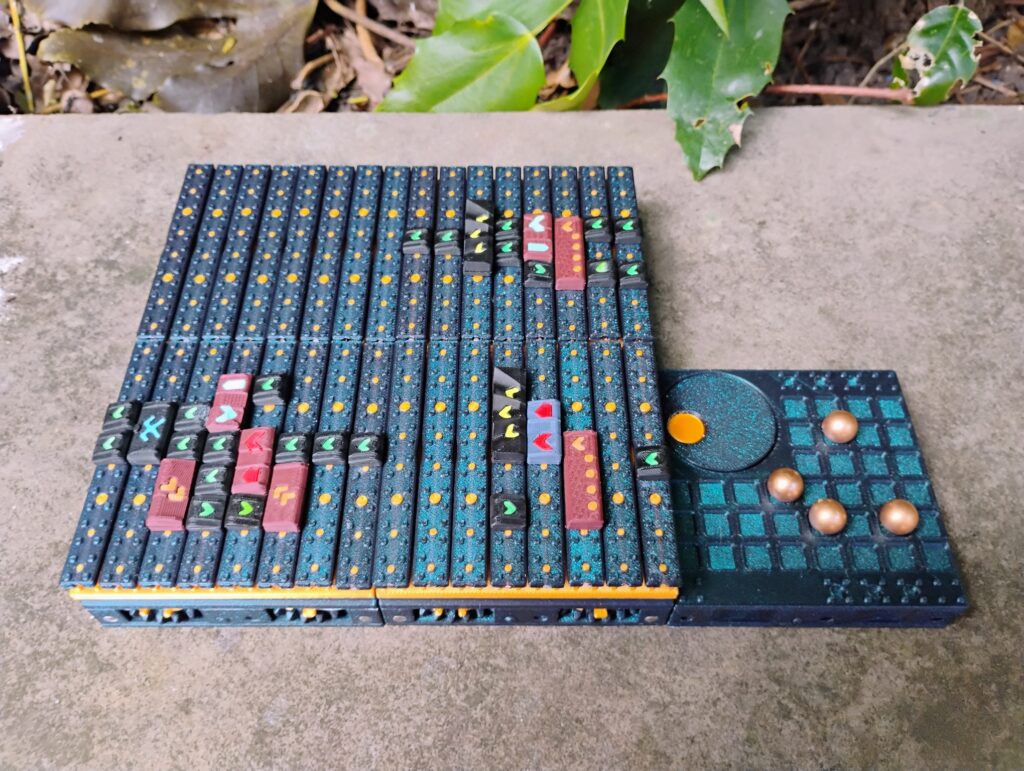
Once we’ve connected drives up, the gears transfer power through the grid in unison:
This is where the modular disk system really shines. You can quickly save/load on individual drives, allowing you to build up complex multi-disk patterns.
bigger grids
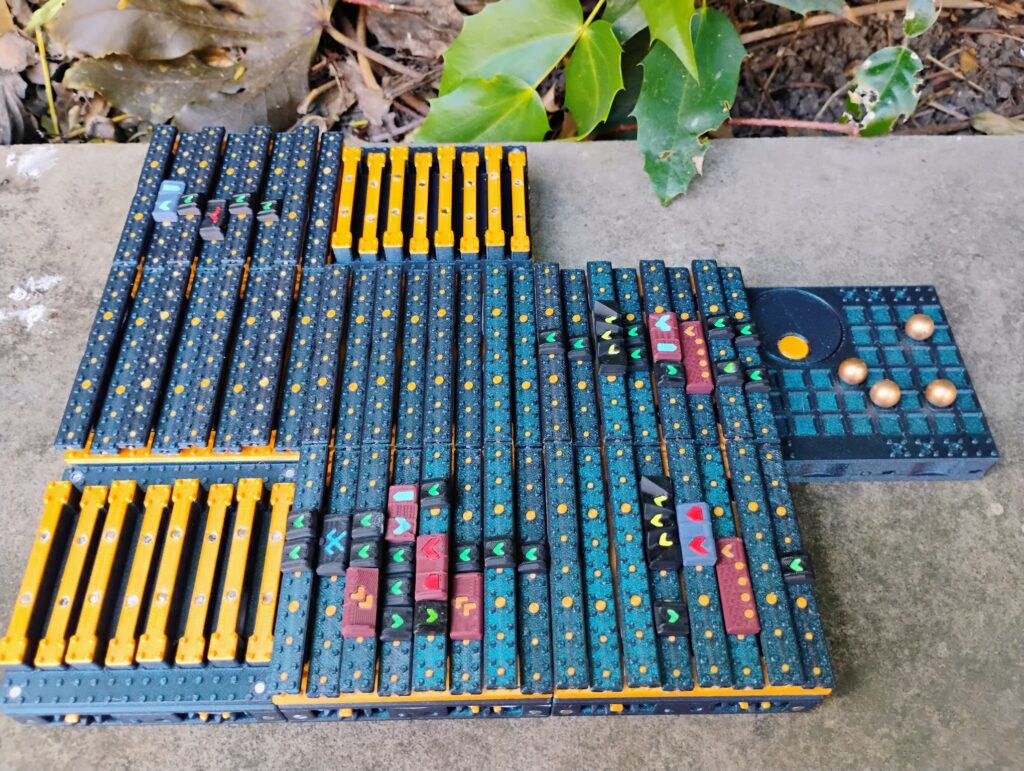
You can combine drives in any direction, which means we can create 2D grids:
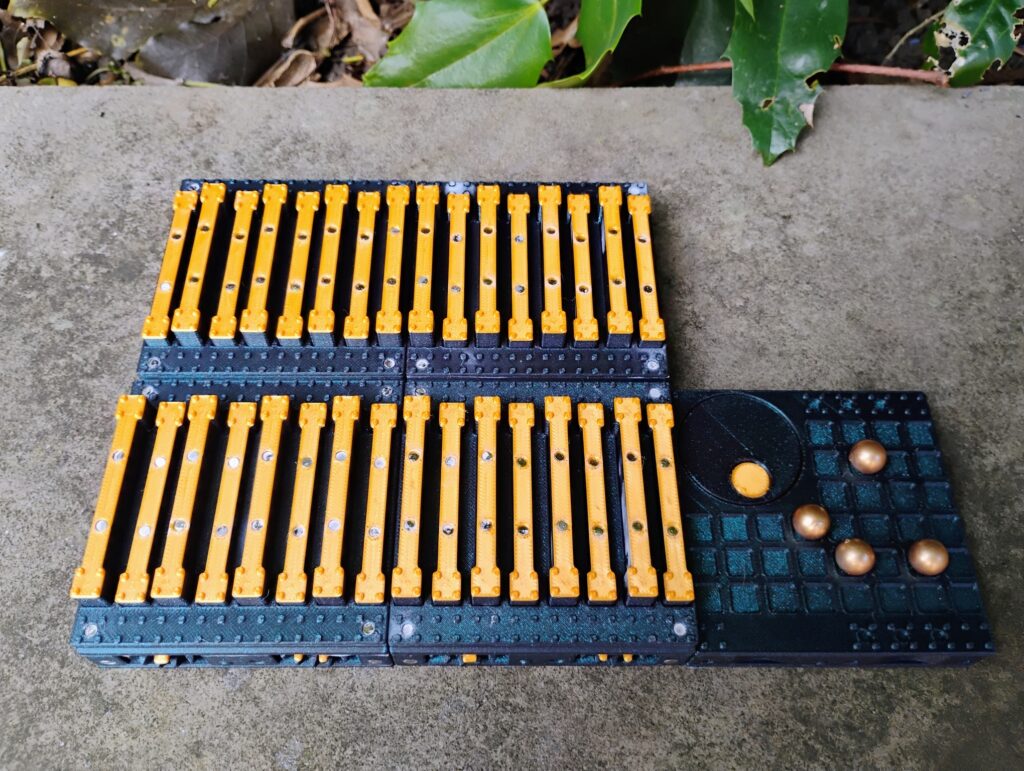
When setting these up, it’s easiest to create each row separately, then connect up each pair of rows all at once.
A 2×2 grid gives us a hefty workspace…
But is it enough?
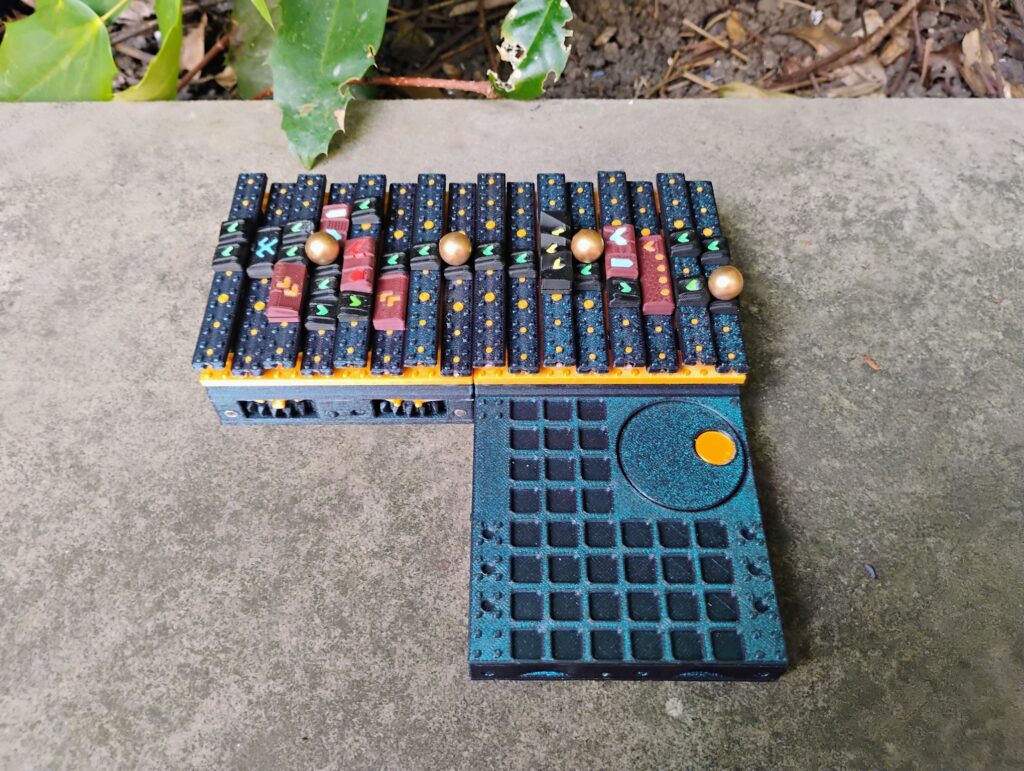
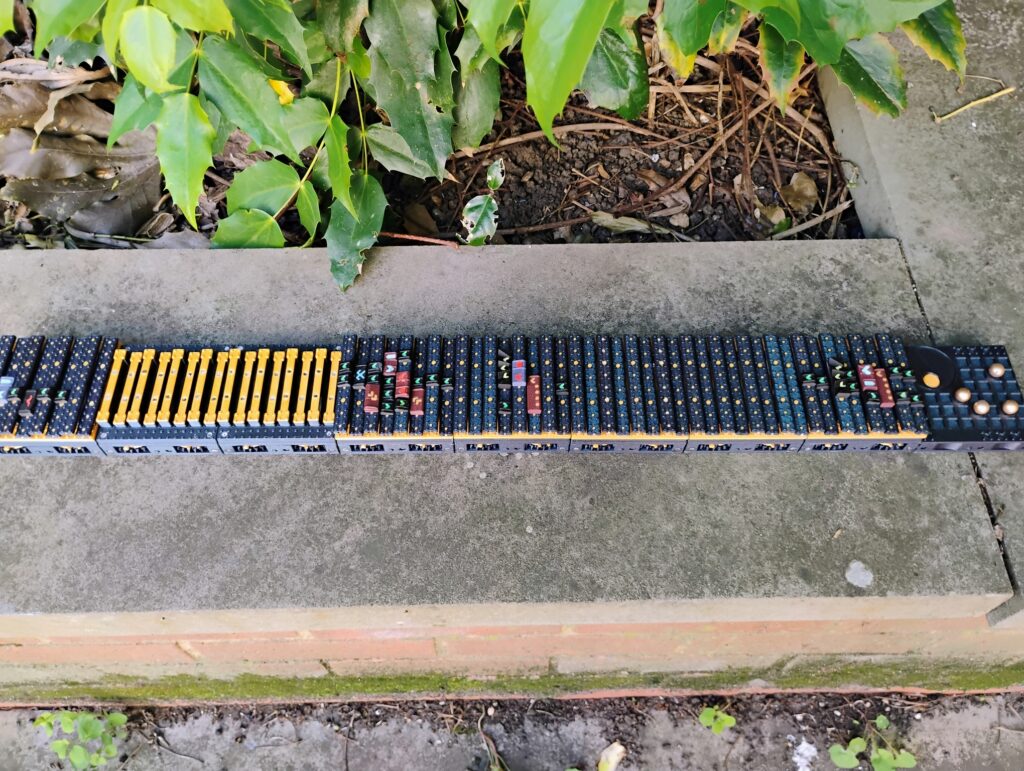
We can build our grid in any shape we like, even stupid ones:
limits
So can we keep adding drives forever?
At a certain point, we’re limited by whether we can put enough power into the system to overcome friction.
With the prototypes, we can reliably run a 2×2 grid by hand. The gears will start to slip if we try to push much beyond that. However, we have plans to extend this limit:
- 3D printing creates layer lines in the prototype gears’ grooves, which causes a ton of friction. Kickstarter funding will let us switch to injection moulding, which can create much smoother grooves.
- We’ll also be able to improve our post-processing on the highest-friction parts, with better sanding techniques and PTFE lubrication.
- Long-term, we want to introduce a motorised encabulator for delivering power to bigger grids. (Don’t expect this in the Kickstarter, though!)
The good news is that roons can do a surprising amount in a compact space. Many of the devices we’ll build can fit on a single disk.
simulator
When the simulator has multiple disks, a blue border will appear at the edge:
Swipe up/down/left/right to move between disks, or click and drag with the mouse.
You can also zoom out to the scene view by pinching your fingers inwards, or click  to the right of the board. To zoom back in to the disk view, pinch your fingers outwards, or click
  .
.
If you get lost, you can always tap 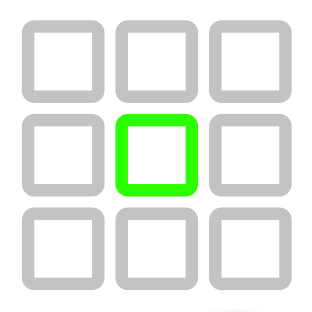 to return to the central disk. You’ll also see a green border in the direction of the central disk.
Next, we’ll look at how the simulator handles creating and destroying marbles.
continue